|
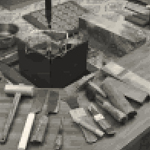
Tools: This craft requires skilled usage of quite a few tools, such as mullet, saw, plane, line drawer and trusquin.
|
|
1) Bark scraping: There are different names for cherry barks depending on its age and condition. "Hibi-gawa" is regarded to be the best, "Ame-gawa" has a smooth surface and "Chirimen-gawa" has a unique pattern on it. After a piece of bark is cut to the preferred size, it is steamed with a heated trowsel to make it soft and flat. Then the surface is scraped with a wide knife for a glossy look and even color.
|
|
2) Gluing: Nikawa (glue) is applied to the surface of the bark and then dried.
|
|
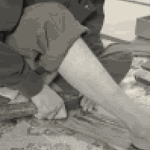
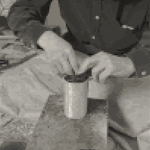
3) Preparation: Three layers of thin wood sheets are rolled up on a mould using a heated trowsel to make a cylindrical base.
|
|
4) Inner bark: Nikawa (glue) is applied on the inside of the base and a piece of bark is placed.
|
|
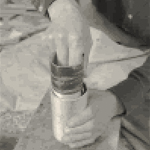
5) Kuchikaba: This bark is used for the part where the lid would come on. The bark is cut, glued and placed around a slightly smaller base.
|
|
6) Placing the kuchikaba: The kuchikaba is glued on the inside of the inner bark.
|
|
7) Separation: The lid and the body are separated using a small knife.
|
|
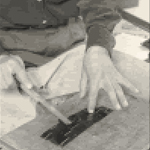
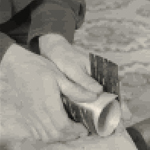
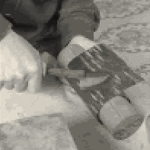
8) Body: Nikawa (glue) is applied to the body and a piece of bark is placed using the iron. A highly skilled crafting technique is required to determine the right temperature of iron and apply the bark smoothly on the surface of the base without leaving any wrinkles.
|
|
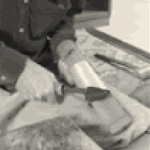
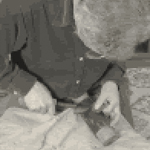
9) Covering the knots: Small pieces of bark are placed over knots using a trowel. Smoothing the top & bottom: Edges of the body and the lid are smoothed using a small knife and a plane.
|
|
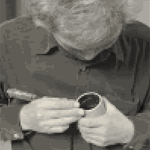
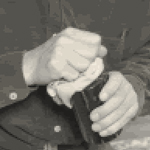
10) Polishing: The surface is sanded six times using #180 to 800 sandpaper in order. For extra smooth finish, it is then polished with whetstone powder and rapeseed oil.
|
|
|

